Universal Analytics Data Backup
Is it possible to obtain free data backup for Universal Analytics and ensure the safety of your data?
In this informative article, we will provide a step-by-step guide on how to create a backup of your Google Universal Analytics data.
May 25, 2023
With the sunset of Google Universal Analytics (UA) drawing near, it is crucial to safeguard your analytics data by creating a backup. Having a backup of your data guarantees access to valuable historical information, enabling future analysis and reporting. Thankfully, there exists an uncomplicated and cost-free method to generate a backup of your UA data, employing the Google Analytics Extension and Google Sheets.
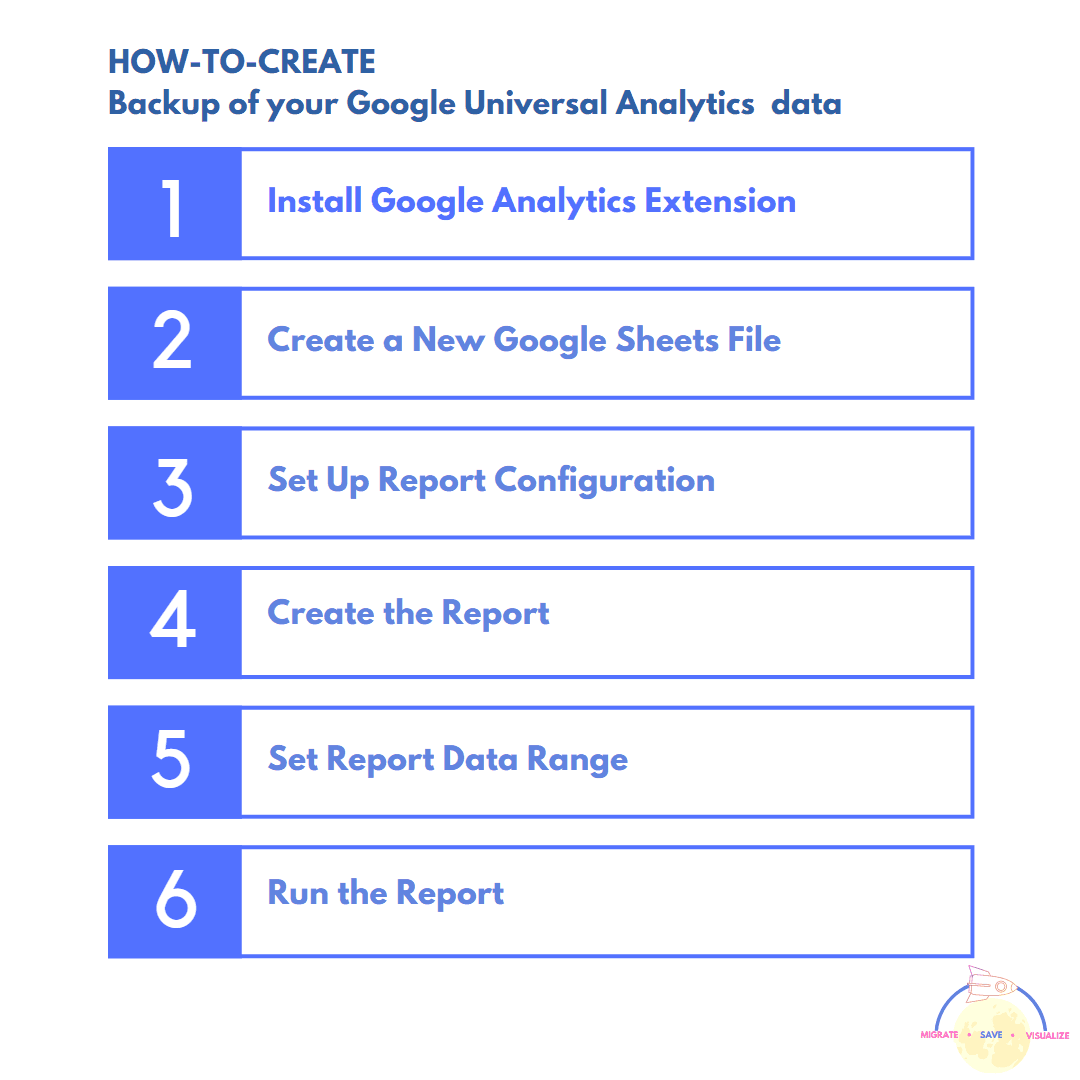
Step 1: Install the Google Analytics Extension
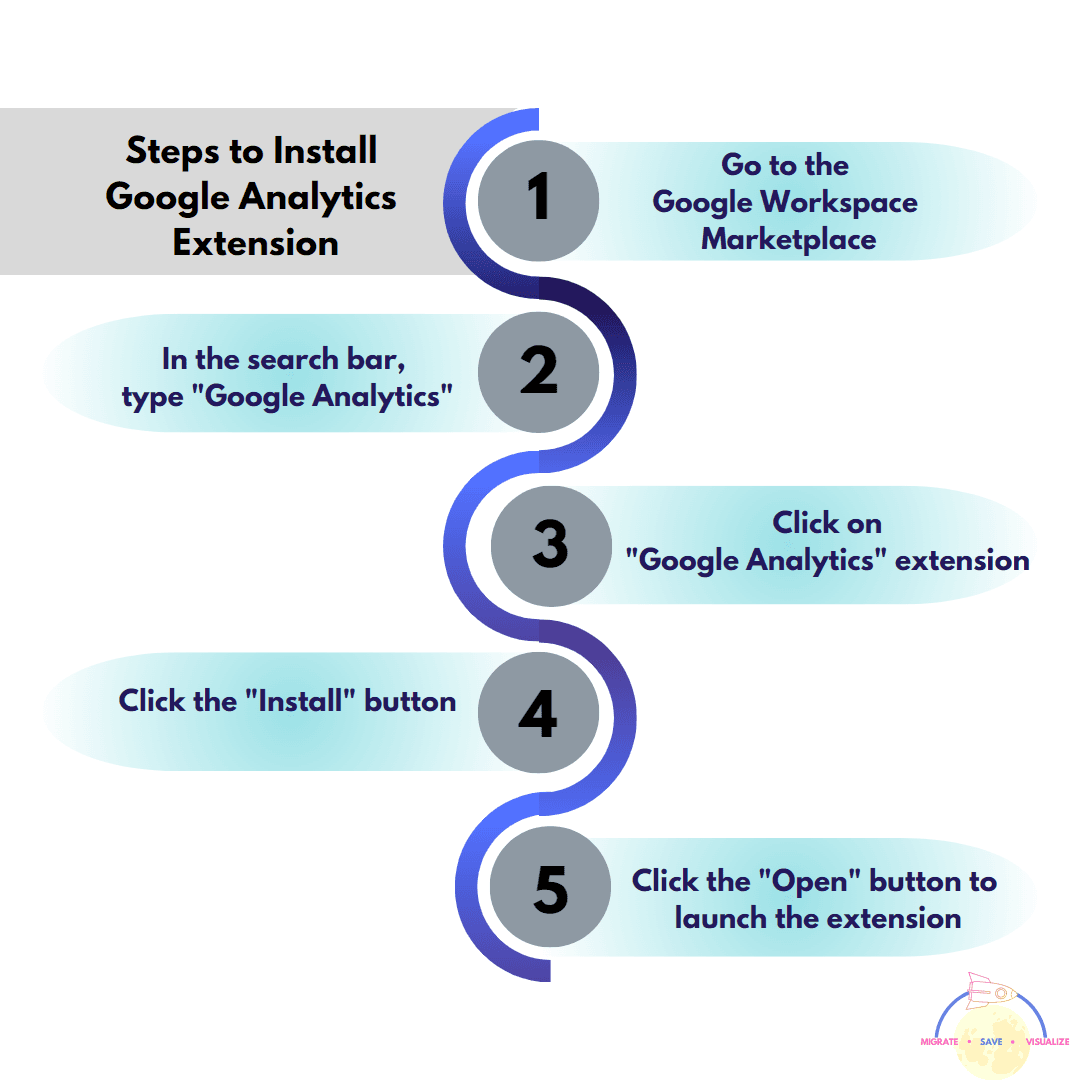
To install the Google Analytics extension, you can go to the Google Workspace Marketplace. Once you're there, search for "Google Analytics". You should see the "Google Analytics" extension developed by Google. Click the "Install" button to add it to your Google Workspace account.
Here are the steps in more detail:
Go to the Google Workspace Marketplace.
In the search bar, type "Google Analytics".
Click on the "Google Analytics" extension developed by Google.
Click the "Install" button.
Click the "Open" button to launch the extension.
Once you've installed the extension, you can start using it to track your website traffic and analytics data.
Step 2: Create a New Google Sheets File
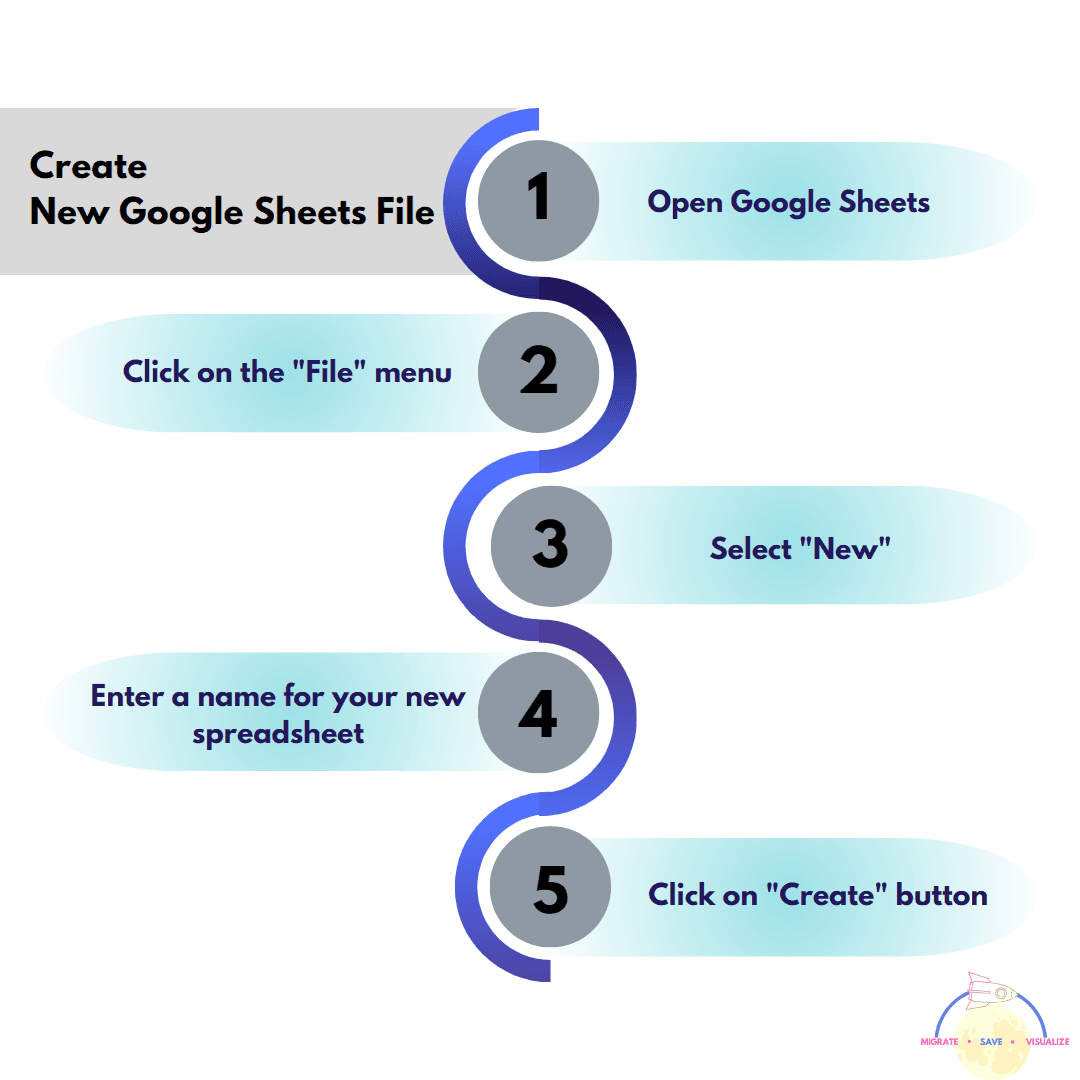
Once you have installed the Google Analytics extension, you can create a new Google Sheets file to export your data to. To do this, follow these steps:
Open Google Sheets.
Click on the "File" menu.
Select "New".
Enter a name for your new spreadsheet.
Click on the "Create" button.
Your new spreadsheet will be created and opened. You can now export your Google Analytics data to it.
Step 3: Set Up the Report Configuration
In Google Sheets, navigate to Extensions > Google Analytics > Create a new report. This will take you to the Report Settings page, where you'll need to configure your report.
Start by assigning a name to your report. Then, select the desired Account/Property/View for which you want to generate the report. Additionally, customize the configuration options to include the specific metrics, dimensions, and segments you wish to incorporate into the report.
Step 4: Create the Report
Click on the "Create Report" button. This action will generate a new sheet within your Google Sheets file, containing the configured settings of your report.
Step 5: Set the Report Data Range
In the Report Configuration sheet, you can specify the date range for the backup by entering the start date and end date in the corresponding fields. The start date is the first day that you want to include in the backup, and the end date is the last day that you want to include in the backup.
Here are some additional tips for specifying the date range for a backup:
Use the full date format when entering the start date and end date. The full date format is YYYY-MM-DD.
Make sure that the start date is before the end date.
If you only want to backup data from a specific month or year, you can enter the start date and end date for that month or year.
If you want to backup all of your data, you can leave the start date and end date blank.
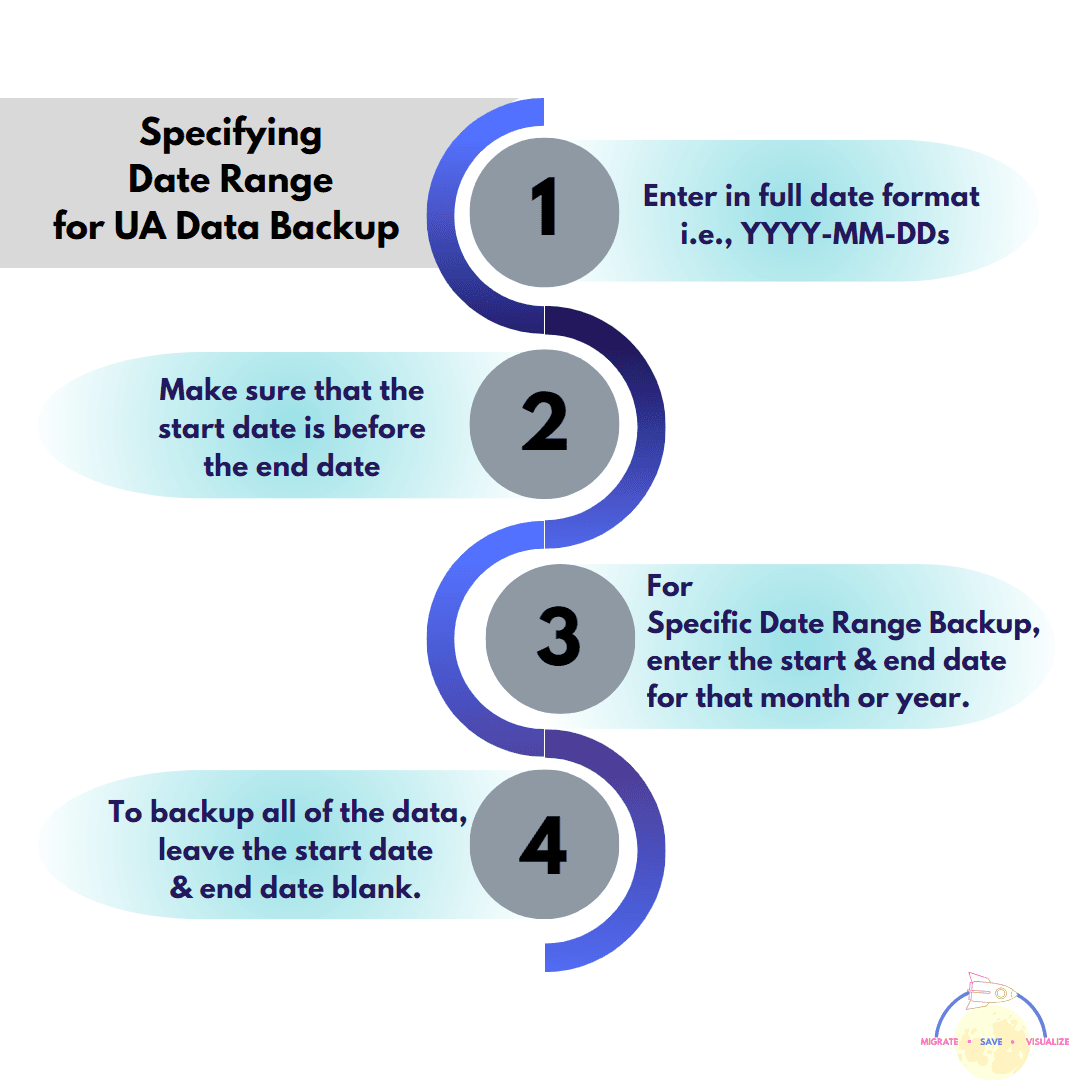
By following these tips, you can ensure that you are backing up the correct data.
Step 6: Run the Report
To run the report, click on the "Extensions" menu and select "Google Analytics". Then, click on the "Run Report" button. This will populate the report sheet with all of the metrics, dimensions, and segments that you selected.
Here are some additional tips for running a report:
Make sure that you have specified the correct date range for the report.
If you want to change the metrics, dimensions, or segments that are included in the report, you can do so by going back to the "Report Configuration" sheet.
You can save the report so that you can run it again later without having to recreate it.
You can share the report with others by exporting it to a file or by sending them a link to the report.
By following these tips, you can run reports that are informative and easy to use.
Ensuring the availability of historical data beyond the sunset of Google Universal Analytics (UA) is paramount. Thankfully, you can create a free backup of your UA data using the Google Analytics Extension and Google Sheets, allowing you to schedule automatic backups.
But there are a few reasons why creating a free backup of your UA data using the Google Analytics Extension and Google Sheets is not efficient.
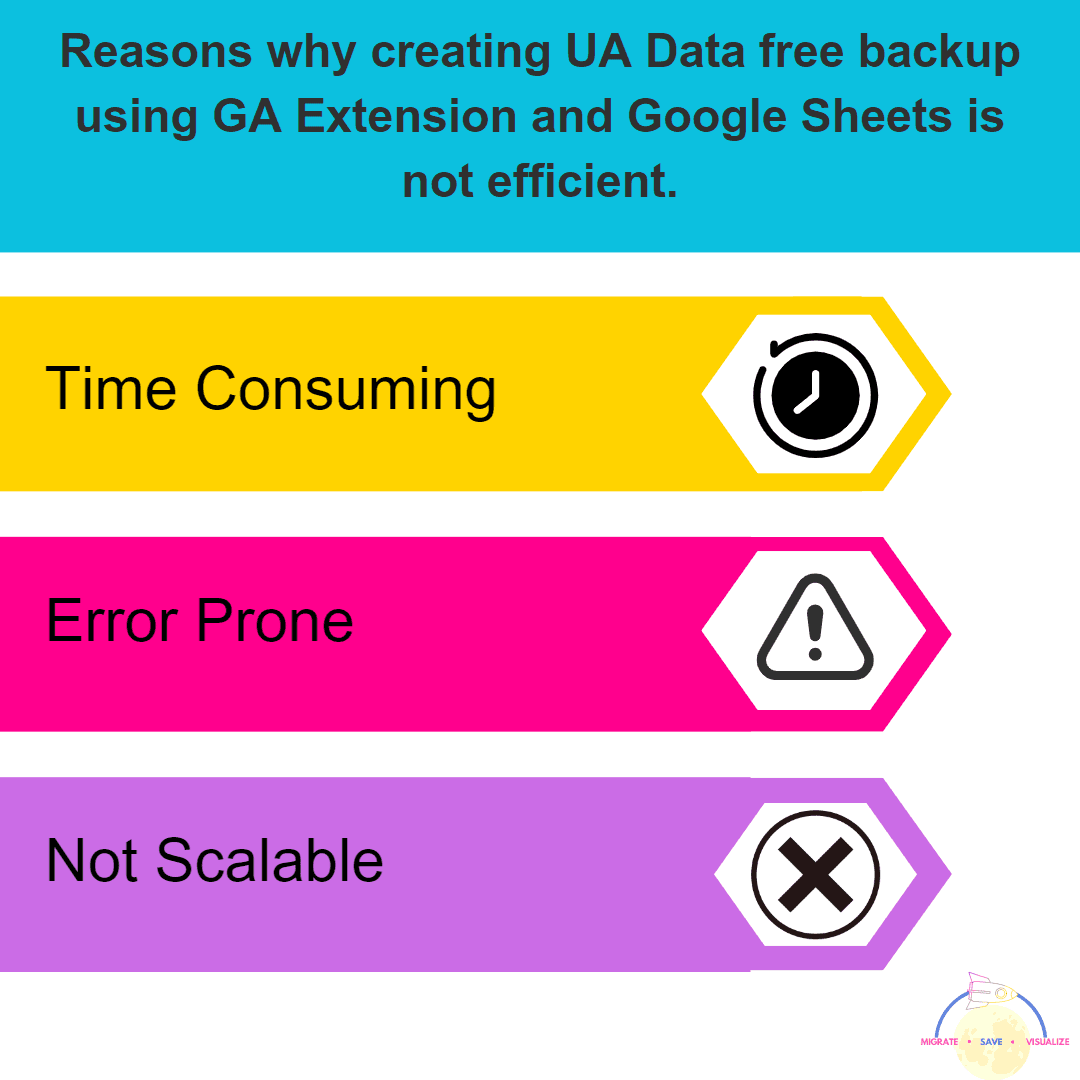
It can be time-consuming. The process of exporting your data from Google Analytics, importing it into Google Sheets, and formatting it can be time-consuming, especially if you have a lot of data.
It can be error-prone. There is a risk of making errors when exporting your data, importing it into Google Sheets, or formatting it. This could lead to inaccurate data or missing data.
It is not scalable. This method is not scalable for businesses with large amounts of data. The process of exporting and importing data can become very time-consuming and error-prone as the amount of data increases.
Analytics Safe is a better option for backing up your UA data because it is:
Efficient. Analytics Safe can automatically export your data from Google Analytics and store it in a secure and compliant manner. This saves you time and reduces the risk of errors.
Scalable. Analytics Safe can scale to meet the needs of businesses of all sizes. Whether you have a small business or a large enterprise, Analytics Safe can help you back up your data efficiently.
Secure. Analytics Safe uses industry-leading security measures to protect your data. Your data is also stored in the cloud, so you can access it from anywhere.
If you are looking for a secure and efficient way to back up your UA data, then Analytics Safe is the perfect choice for you.
To learn more about our services, you can explore our options. If you would like to speak with us directly, you can click here to schedule a call.

